Contributing to Iron Coder
In this tutorial, we will cover how to create a custom board for Iron Coder. If this is something that interests you, great! Iron Coder, as an open source project, welcomes collaboration and we are eager to see it grow from community effort.
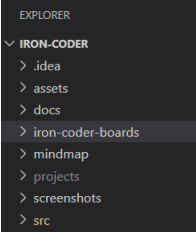
With that being said, lets get started. The first step is to clone the repository, and navigate to the folder titled iron-coder-boards
, as shown here:
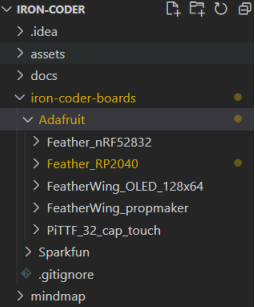
We notice nested folders of format Manufacturer/Board/source files. When creating your own board, follow this layout, as that is where the application will search. As of writing this tutorial, Iron Coder supports Adafruit and Sparkfun boards, but this is by no means a restriction! More boards are planned, and you are welcome to develop for manufacturers not listed. A new feature is also in development to allow users to create new boards and discrete components directly within Iron Coder.
Creating a Custom Board
The easiest way to develop your own board is to examine an existing board and follow its format while incorporating your custom design. One key requirement for an Iron Coder board is an SVG file, which determines pin placements in the connection menu.
SVG File Guidelines
When creating the SVG file for your board, follow these guidelines:
-
Keep the image size reasonable.
-
Use millimeters (mm) as the unit of measurement.
-
Remove all transforms and ensure that all element units are absolute.
-
Ensure that paths intended for display have element IDs matching the board pinout identifiers.
For more details on how Iron Coder processes SVG files, refer to the source code in src/board/svg_reader.rs. Once formatted correctly, place the SVG file in the corresponding template folder for your board. The egui library will then parse the file for proper display within Iron Coder.
This concludes the tutorial. We wish you the best of luck, and invite you to open a pull request!